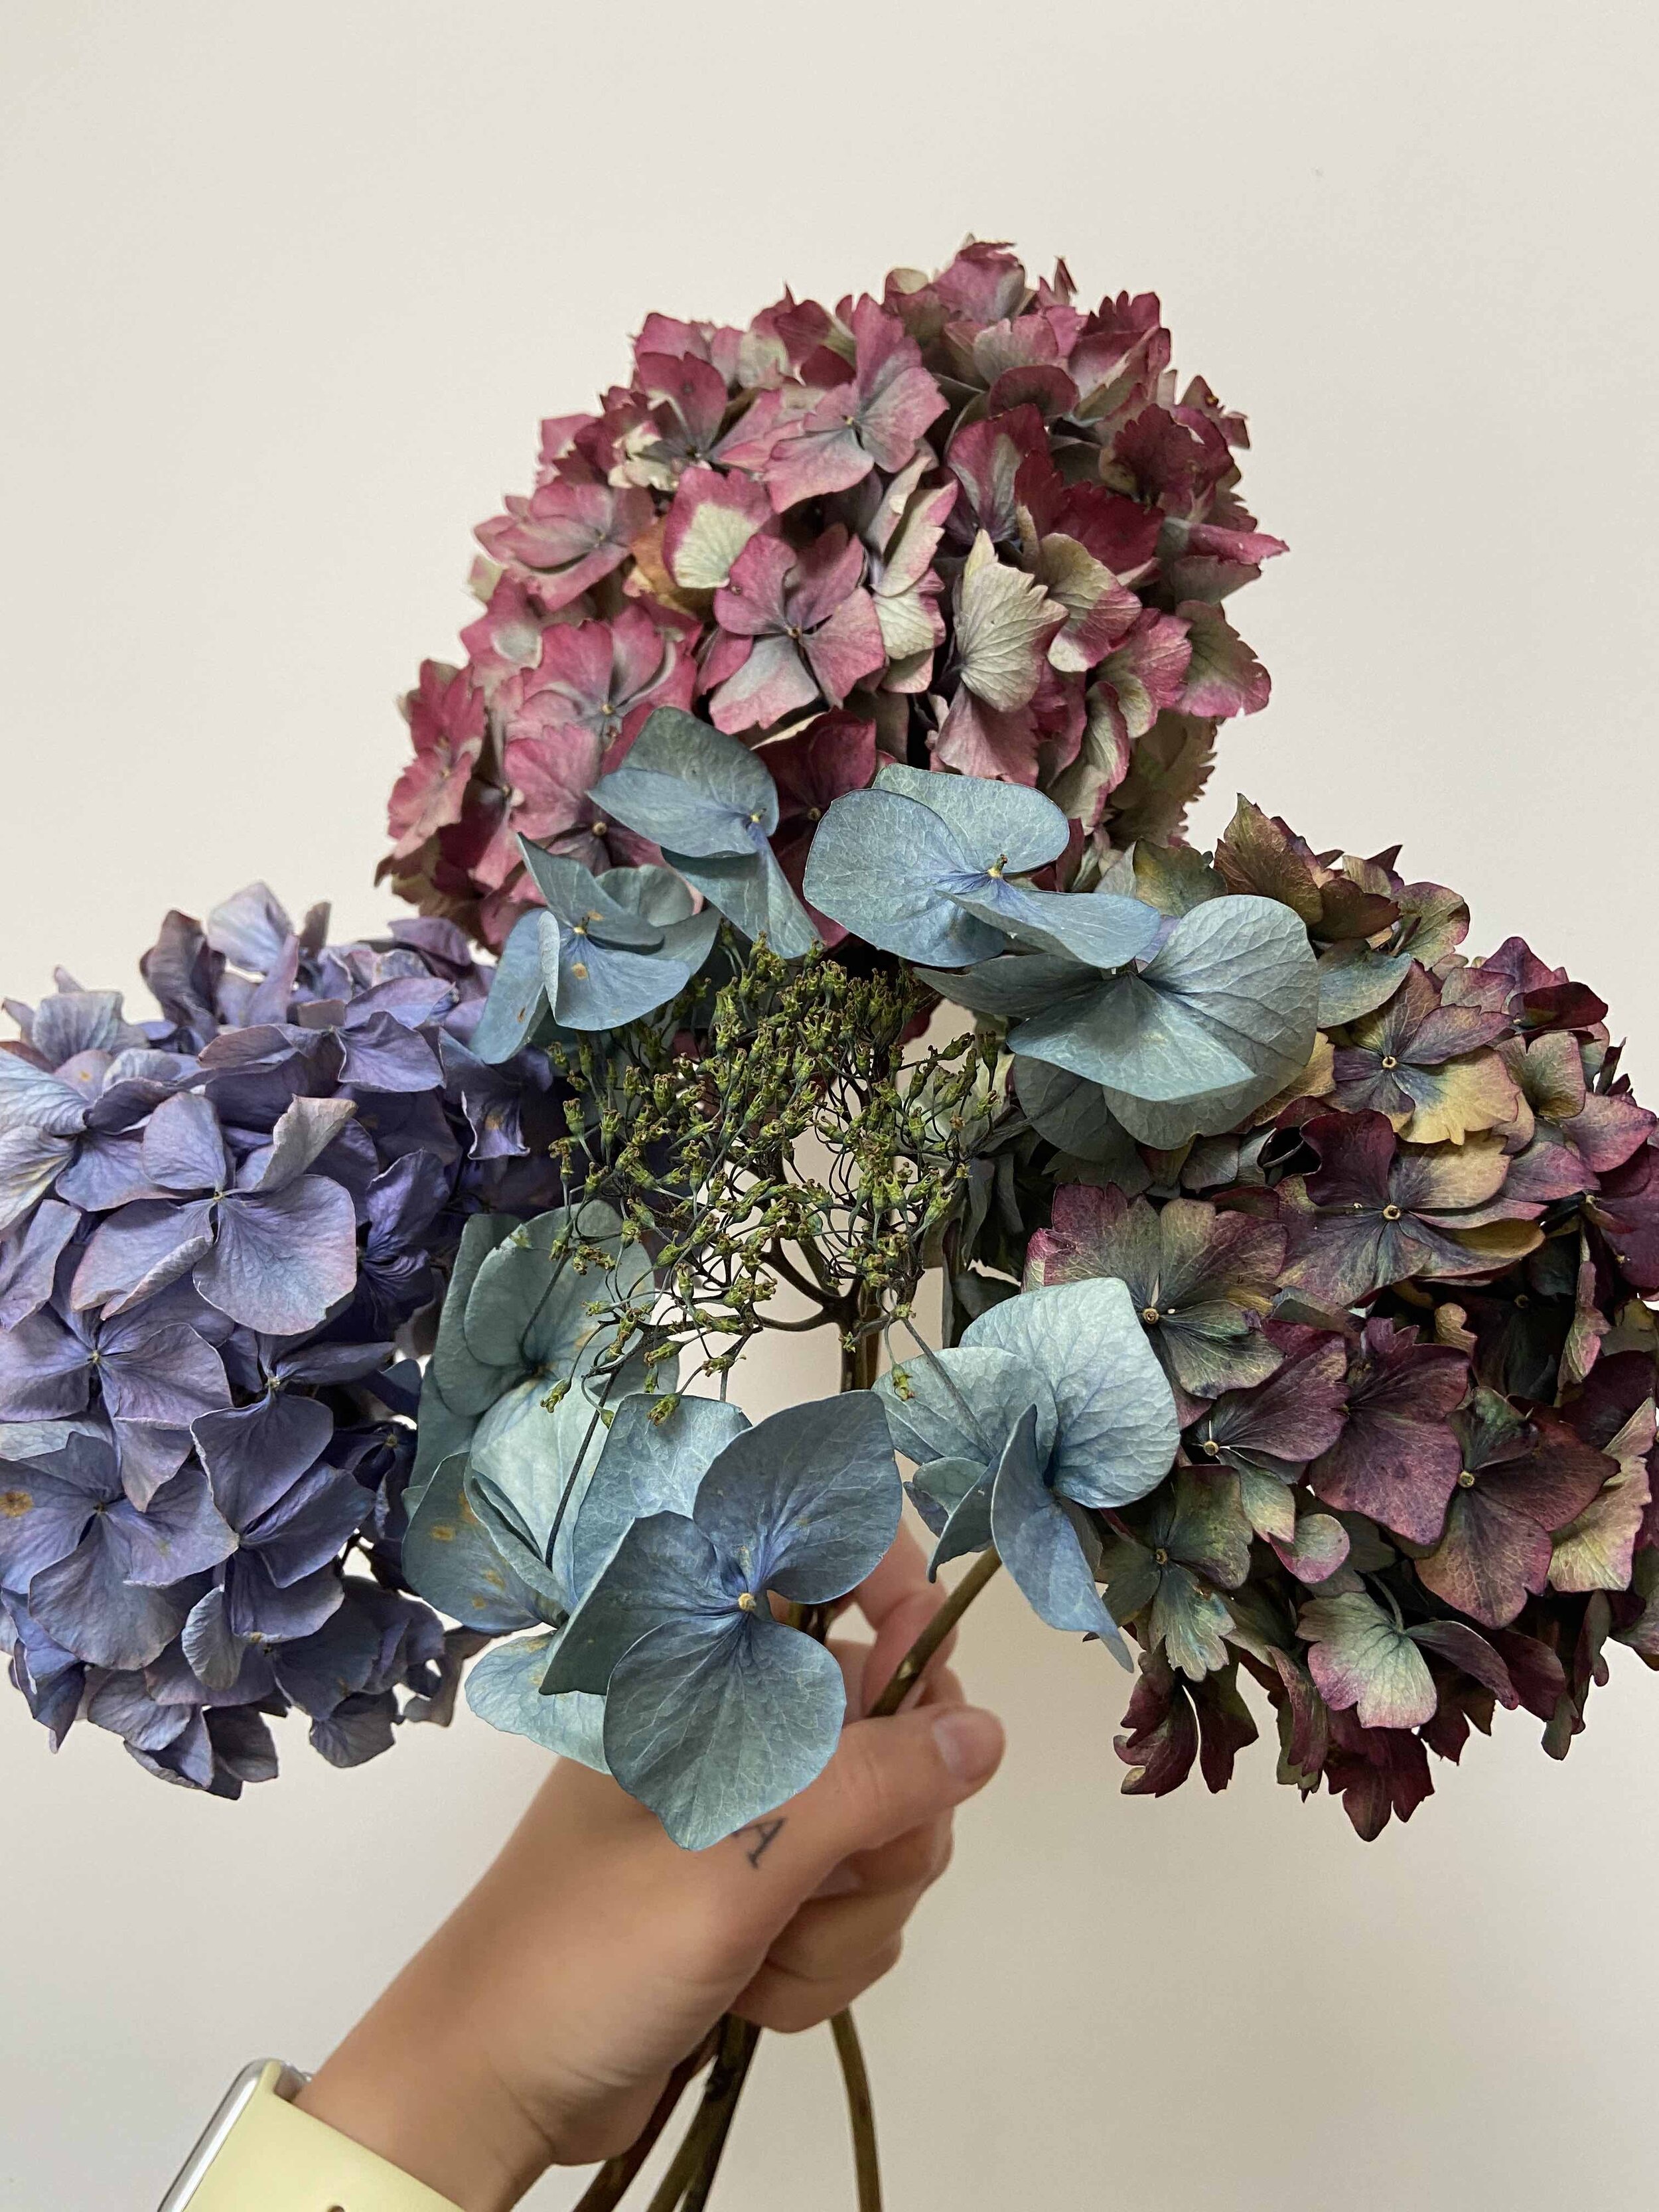
How to dry your own hydrangeas
As many will know, one of my favourite flowers to dry is the Hydrangea, and it’s pretty easy to see why… Beautiful, diverse and versatile, I find that these flowers allow for plenty of experimentation when it comes to drying.
So here’s my how to best dry hydrangeas guide:
Why should I cut them?
Hydrangeas have such a wide spectrum of natural shades and shapes. However, they are the most unpredictable in terms of anticipated colours once finally dry - one that began life as green, could change to pink on the plant, and then change again to blue once dried, before turning golden in the sunlight.
And that’s all part of the fun!
When’s best to cut Hydrangea for drying?
I always wait until the stems have started to go woody on the bush. Too early in the season and many of the petals will droop & wither.
Most of the time in the UK, I find that cutting from late September/October is a safe bet, as this seems to produce the most lovely dried stems.
How to cut Hydrangeas?
With two buckets, one with a small amount of water and one empty, I venture into the garden.
From the base of the Hyds stem, I snip with a sharp pair of secateurs, and then strip all the leaves off into the empty bucket (skipping this step of removing the leaves can affect the drying process, so always best to take them off there & then so you don’t forget). Then, I put the bare flower stem into the fresh water, and continue as above until my bucket is full.
By using an evaporation method, the flowers will drink from the bucket until the water has gone, and then dry steadily out.
Another reason why I love these, you can forget about them and come back to some masterpieces!
You can always transfer over to a pretty vase if you’d like to keep an eye on them whilst they dry.
EXTRA TOP TIPS (not all scientifically proven, but Bryonia tested!)
Cut early in the day - as with all cut flowers, cutting first thing in the morning when the flower is at the height of hydration means there is less chance of wilting or drooping
Dry out in a warm, dark space - if you want to retain as much colour as possible then I would recommend drying in an airing cupboard or wardrobe, as usually these flowers will keep a much stronger colour. But if you want to go the other way and naturally sun bleach them, then pop them into a bright windowsill to allow the colours to fade quicker.
The flowers in the underneath of the bush usually dry better - I’m not quite sure on why this is, maybe call it weather damage for the most exposed flowers, but if you’re only wanting to snip a few, then the ones buried into the bush are usually the most foolproof to dry.
Wait for a dry day - if Mother Nature has already done half the work for you then the flowers you snip have already been partially dried out. Using a dry morning slot to cut your flowers usually works best for us!
What now?
Now that your Hyds are dried, they’re perfect to use in a beautiful vessel or for all your creative projects.
Here at Bryonia, we love to use them for buttonholes, custom arrangements and also our custom dried flower baubles (pictured).
I do hope you enjoyed this how to guide! Please do send me images of any hydrangeas you have dried and how you’ve used them.
Which flower would you like to learn how to dry next?
Jenna x


